 |
| To enable the use of my hoops and cover, as well as trellises and tomato cages, which sit on the top of each box, I had to lower the sub main headers below the tops of each box. I started this by drilling 1" holes on each end corner. |
 |
| Then I used a reciprocating saw to clean up each notch. |
 |
| Next, I prepared each ½" sub main line for the installation of the barbed swivels to which each drip tape line would be attached. I used a 7mm punch for this, a great little time saving device well worth the 8 bucks I paid for it. |

 |
| Attached drip tape swivel. Only 35 more to go. |
 |
| One header down, five to go. |
 |
| Sub main attached to 2x2 header board and floating in the box. This design will also facilitate winter removal of the lines as all I have to do is unscrew the connector that attach it to the next box. |
 |
| The lines between boxes are enclosed in ¾" PVC pipe to prevent damage from heavy-footed bi-peds. I also used a piece of 1 ½" PVC to cover the connectors sticking out the end. |
 |
| After the headers are all installed, the next step is to attach each 8-foot piece of drip tape to each swivel. |
 |
| After pushing tape onto end of swivel, simply screw the cap over the tape. |
 |
| After all lines are connected, and water is flushed through the system to remove any possible debris, the end plugs are similarly attached to the drip tape. |
 |
| After careful placement across the box, each drip tape line is secured by a landscape staple. |
 |
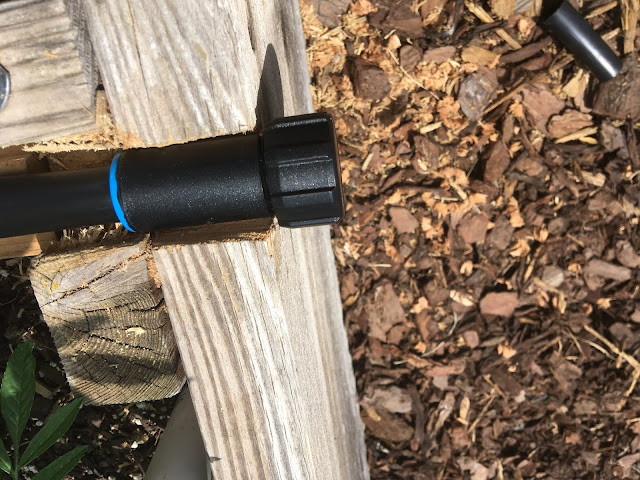
| Each run of sub main is capped off by a screw cap that allows the lines to be flushed as well as drained for the winter should you decide to leave them in place. |
 |
| This side of the yard is ready to attach to the water supply, in this case a hose coming from one of the two house spigots. On the end is the pressure reducer which is attached to the filter, which is itself attached to the swivel-t. These three bits are the only parts that have to be removed in the winter. |
 |
The final touch is adding a timer to each line. I will start by watering every other day for 10 minutes and modify from there.    |


No comments:
Post a Comment